Crafting a Greenhouse on a Budget: Turning Unlikely Materials Into a Dream Growing Space
Building a greenhouse doesn’t have to break the bank. With a little creativity and a knack for repurposing, you can create a functional and beautiful greenhouse for a fraction of the cost of buying a pre-made one. In this post, I’ll walk you through how I transformed an old carport frame and other salvaged materials into a charming greenhouse that’s perfect for extending the Zone 3 growing season.
Step 1: The Vision
The idea started with a need for a greenhouse and a determination to keep the project affordable. Instead of purchasing all-new materials, I decided to repurpose what I already had or could source for free. The goal was to create a practical, inviting space without sacrificing style or functionality.
Charming, right?
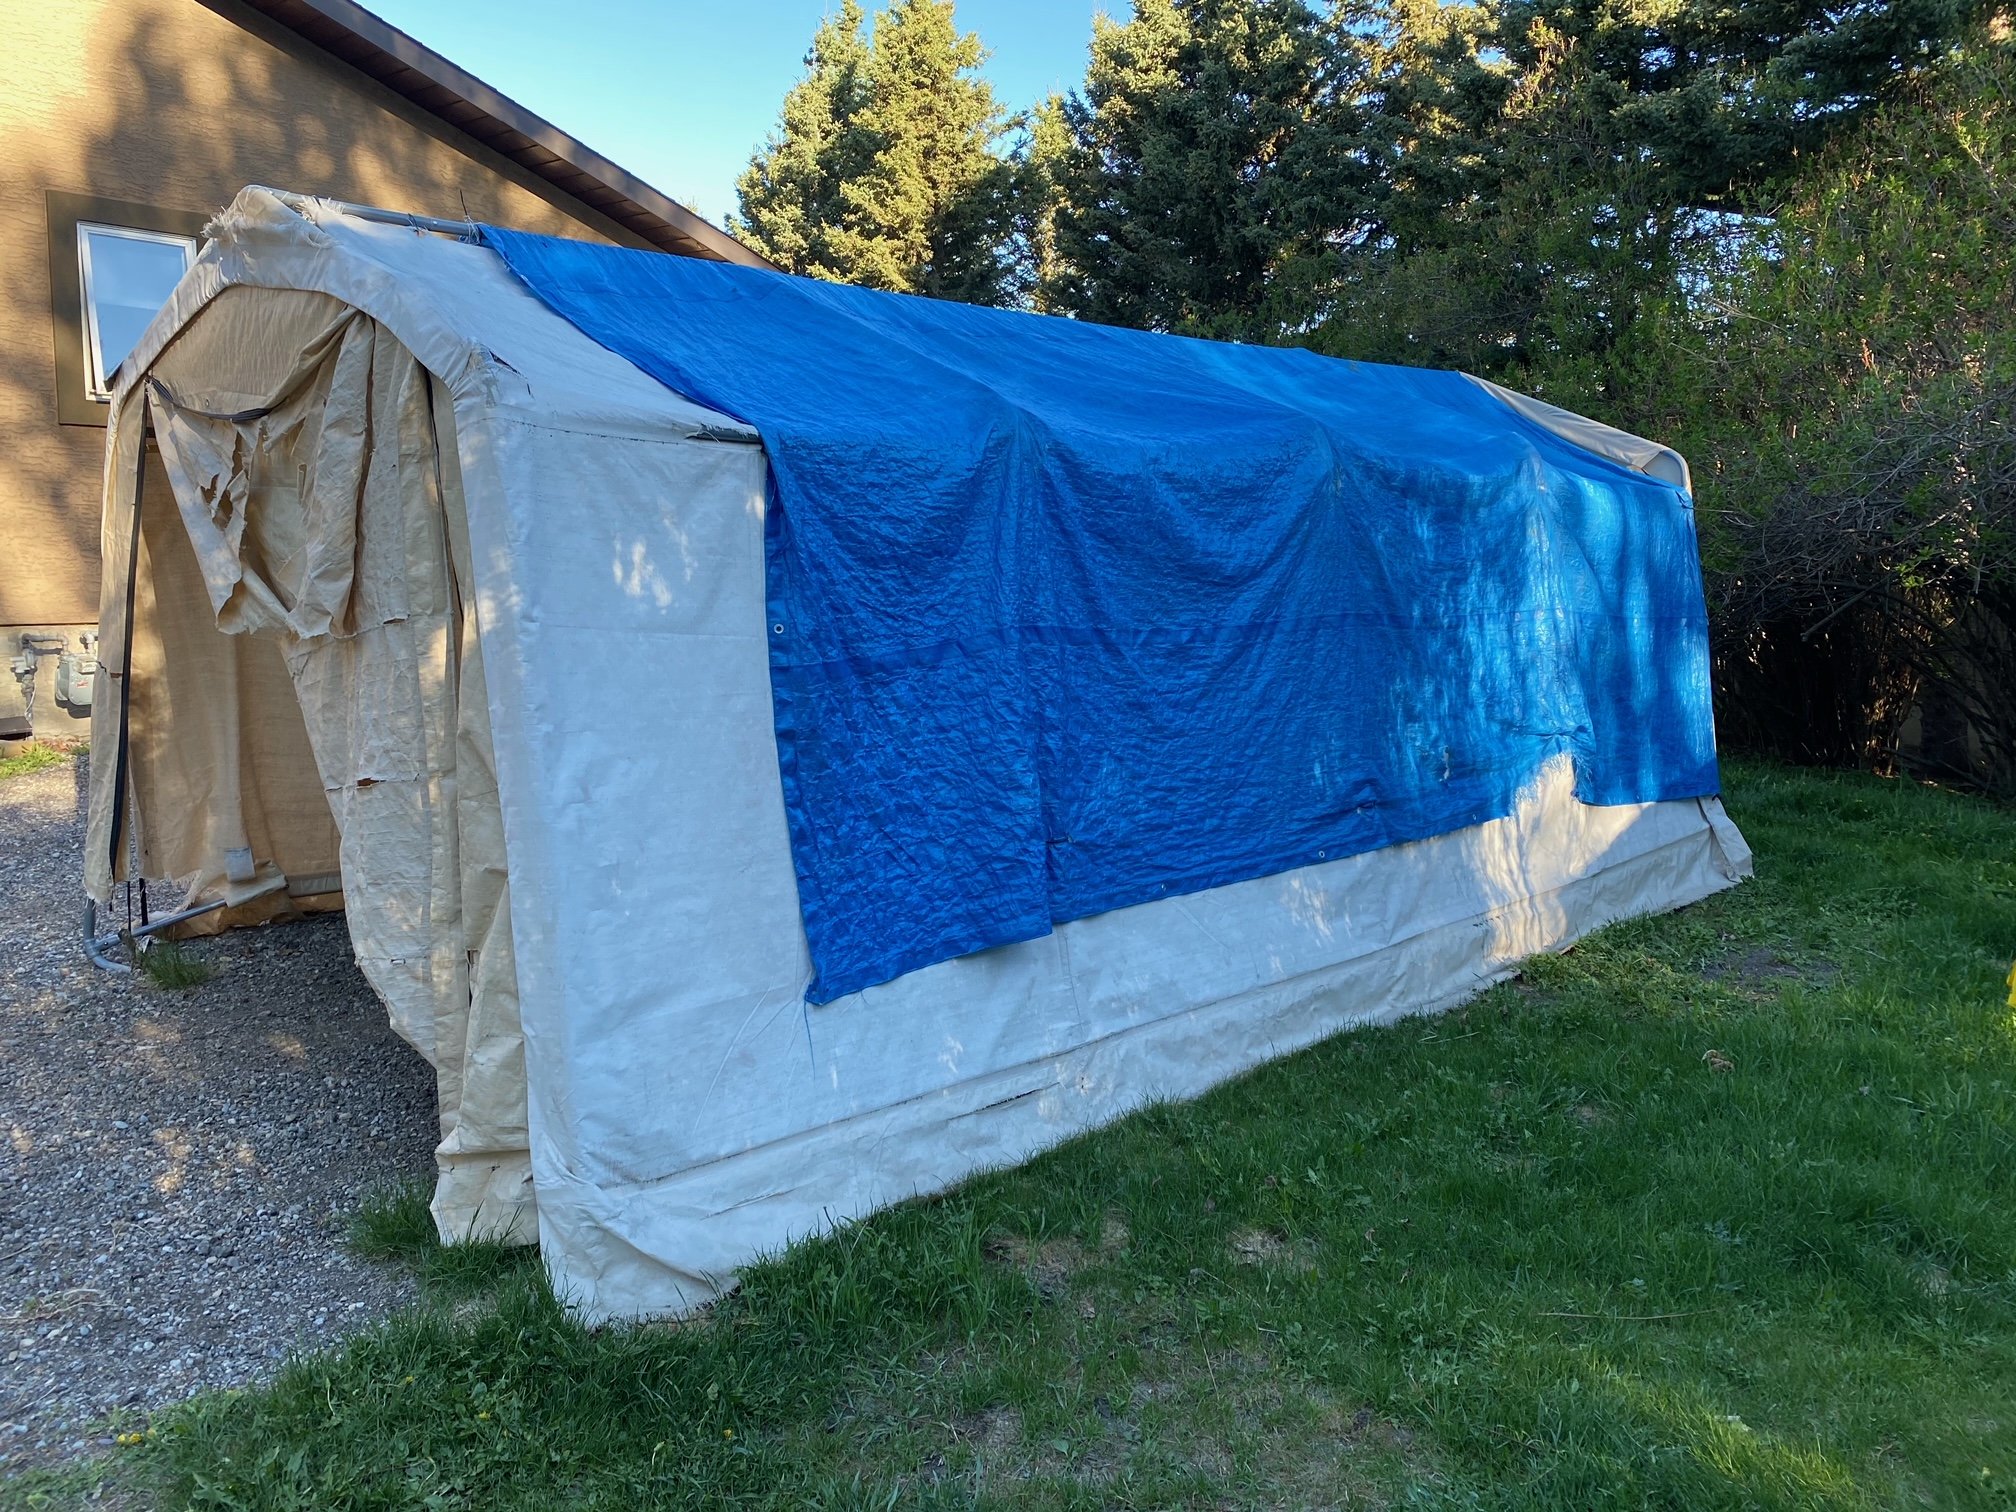
Step 2: Finding the Base Material
The foundation of this project was an unused carport frame. Its sturdy metal structure was perfect for the greenhouse skeleton. Carports are widely available—you may even find one for free through local online marketplaces or by asking around. If you’re unable to locate one, look for other structures like old gazebos or pergolas that could be adapted.
Tip: Don’t hesitate to think outside the box. Many items designed for one purpose can be reimagined with a little creativity.
Step 3: Preparing the Base
To give the carport frame height and stability, I built a raised base using salvaged wood. Repurposed lumber from previous projects or old pallets can work perfectly for this. The base not only lifted the structure for better ventilation but also added an aesthetic touch that blended with the natural surroundings.
Cost-saving hack: Check with local hardware stores, demolition sites, or construction crews for scrap wood they’re willing to give away.
Step 4: Adding the Walls and Roof
For the greenhouse end walls, we framed them in with 2x4’s and plywood, added a sliding alumimun window and french doors to add a charming, rustic look to the structure.
The roof was covered with a clear plastic poly and affixed to the frame with aluminum tracks and ‘wiggle wire’ meant just for this purpose. The poly and track were the most expensive part of this project but very necessary. This combination of materials kept the greenhouse insulated and bright without adding unnecessary costs.
Pro tip: Be sure to check for local listings or free-cycle groups for used windows, doors, or leftover building materials. These are often discarded but can be perfect for a greenhouse project.
Step 5: Flooring and Interior Details
For the flooring, I used free bricks that a couple was giving away prior to selling their property. The clay bricks are durable, easy to clean, and help regulate the temperature inside the greenhouse.
The walls were lined with salvaged shiplap to create an inviting, polished look while adding insulation. Hooks and shelves were installed inside to maximize growing space, all made from scraps I had on hand.
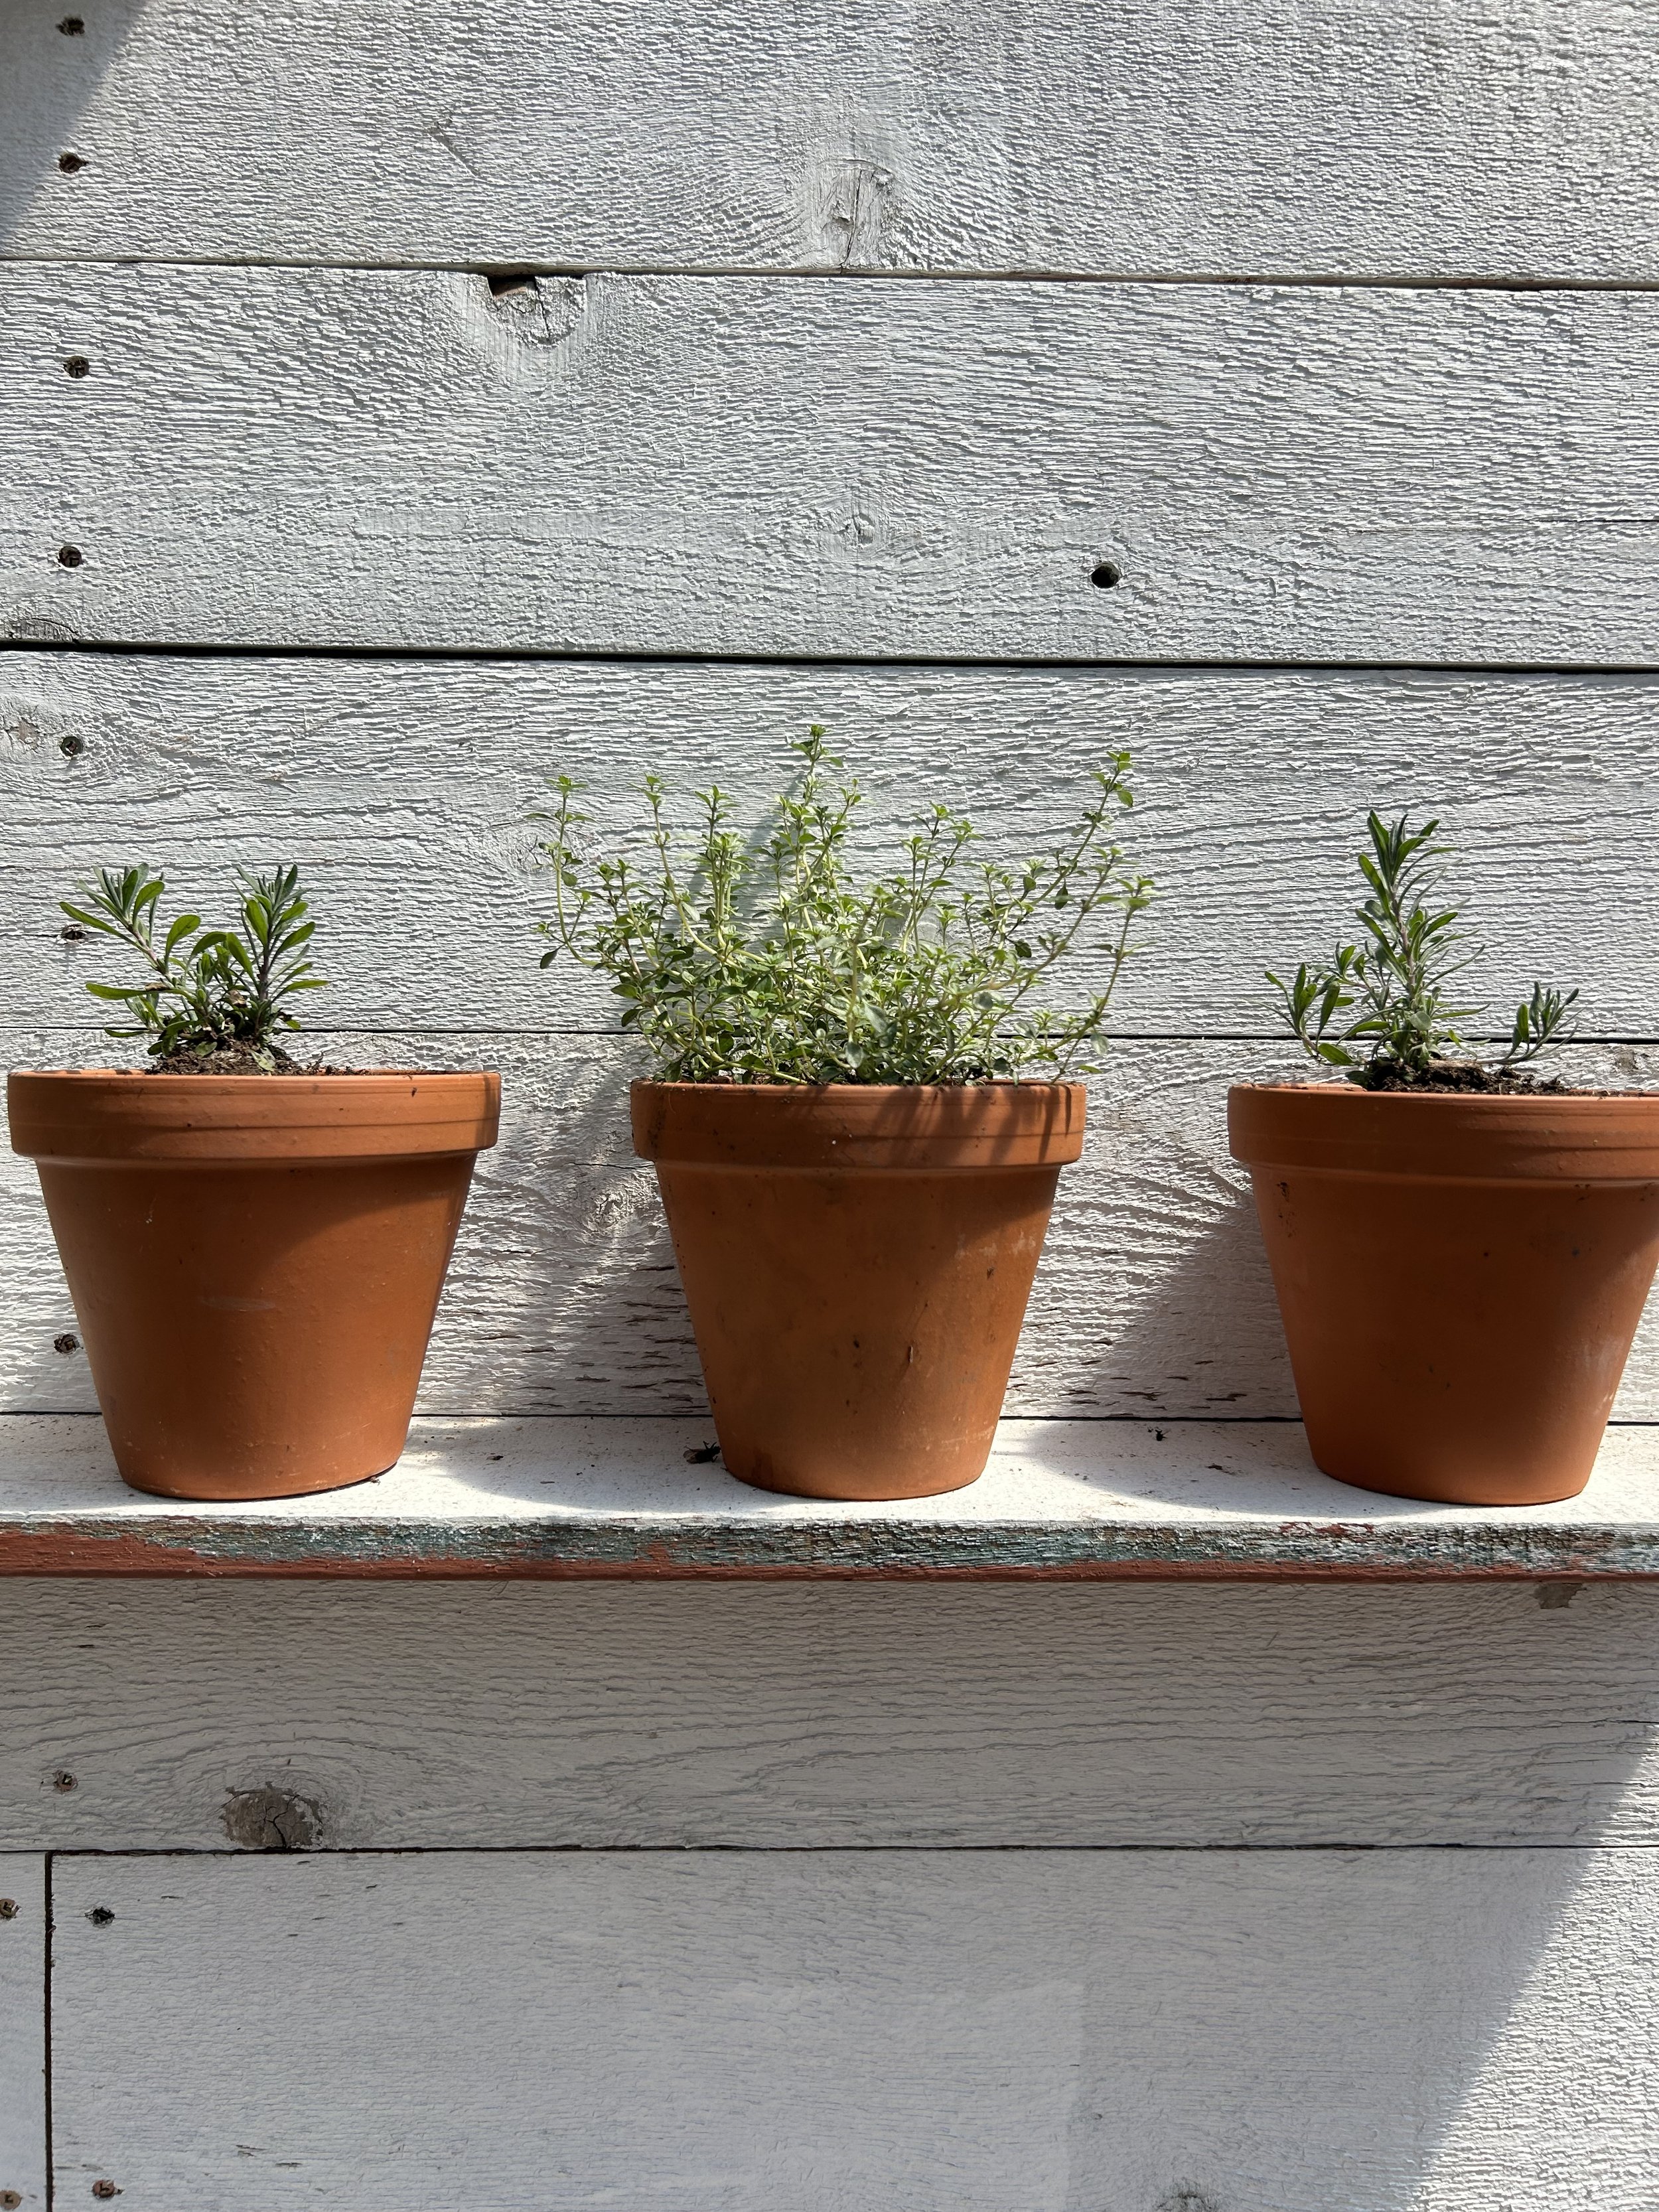
Bonus: Adding a couple of salvaged or thrifted planters and tables gave the space a finished, cozy feel without adding cost.

I layed the majority of the brick in a linear pattern, like this picture shows. Turns out I didn’t like it and changed it to be more of a alternating-step pattern.
Step 6: Finishing Touches
The greenhouse doors were also repurposed—a pair of doors I found for free. They added character and created a welcoming entryway. For ventilation, I incorporated small, electric fan that could be turned on during warm days.
To tie it all together, I gave the structure a cedar shingles on the exterior. This not only unified the look but also added an extra layer of protection for the wood elements.

Why This Project Works
Cost-effective: By using salvaged and repurposed materials, the total cost was significantly lower than buying new.
Eco-friendly: Repurposing materials kept them out of landfills and reduced the need for new resources.
Customizable: Every detail was tailored to fit my needs, making this greenhouse unique and personal.
Charming and Functional: The mix of rustic and modern elements created a space that’s not only practical but also visually appealing.
Takeaways for Your Greenhouse Build
Start with what you have: Take stock of any unused materials or structures you already own.
Source free or low-cost materials: Check online marketplaces, thrift stores, and construction sites for salvageable items.
Be flexible with your design: Let the materials guide your creativity and adjust your plans as needed.
Think sustainably: Repurposing and recycling materials is not only budget-friendly but also environmentally responsible.
Enjoy the process: There’s nothing more rewarding than creating something beautiful and functional with your own hands.
This greenhouse project was a labor of love and a reminder that with a little imagination, you can turn unexpected materials into something truly special. Whether you’re an experienced DIYer or just getting started, I hope this inspires you to dream big, think creatively, and build something amazing on a budget.