
Three Beginner DIY Wood Working Projects
Wooden Wall Art

Why buy generic wall art when you can create something uniquely yours? Repurposed wood offers endless possibilities for crafting one-of-a-kind decor pieces. In this tutorial, we’ll guide you through making stunning wooden wall art that blends rustic charm with modern elegance.
Step 1: Gather Your Supplies
Salvaged wood planks or scraps.
Paint, wood stain, or wood-burning tools (optional).
Strong adhesive or nails for assembly.
Hanging hardware.
Step 2: Design Your Piece
Choose a design that suits your space. Geometric patterns, abstract arrangements, or inspirational quotes are all great options.
Arrange your wood pieces on a flat surface until you’re happy with the layout.
Step 3: Assembly
Attach the wood pieces using strong adhesive or nails. If you’re creating a layered design, start from the back and work forward.
For added flair, consider painting parts of the wood or using a wood-burning tool to inscribe a meaningful quote or design.
Step 4: Finishing and Hanging
Sand any rough edges and apply a wood stain or clear coat to protect and enhance the piece.
Attach hanging hardware to the back, ensuring it’s securely fastened.
Styling Tips
Hang your artwork above a fireplace, in a dining room, or as part of a gallery wall.
Pair it with complementary decor elements like plants, mirrors, or woven textiles for a cohesive look.
Conclusion
DIY wooden wall art is a creative way to express your style while repurposing materials that might otherwise go to waste. With just a few tools and a bit of imagination, you can elevate any space with a personal touch.
2. Candle Holders
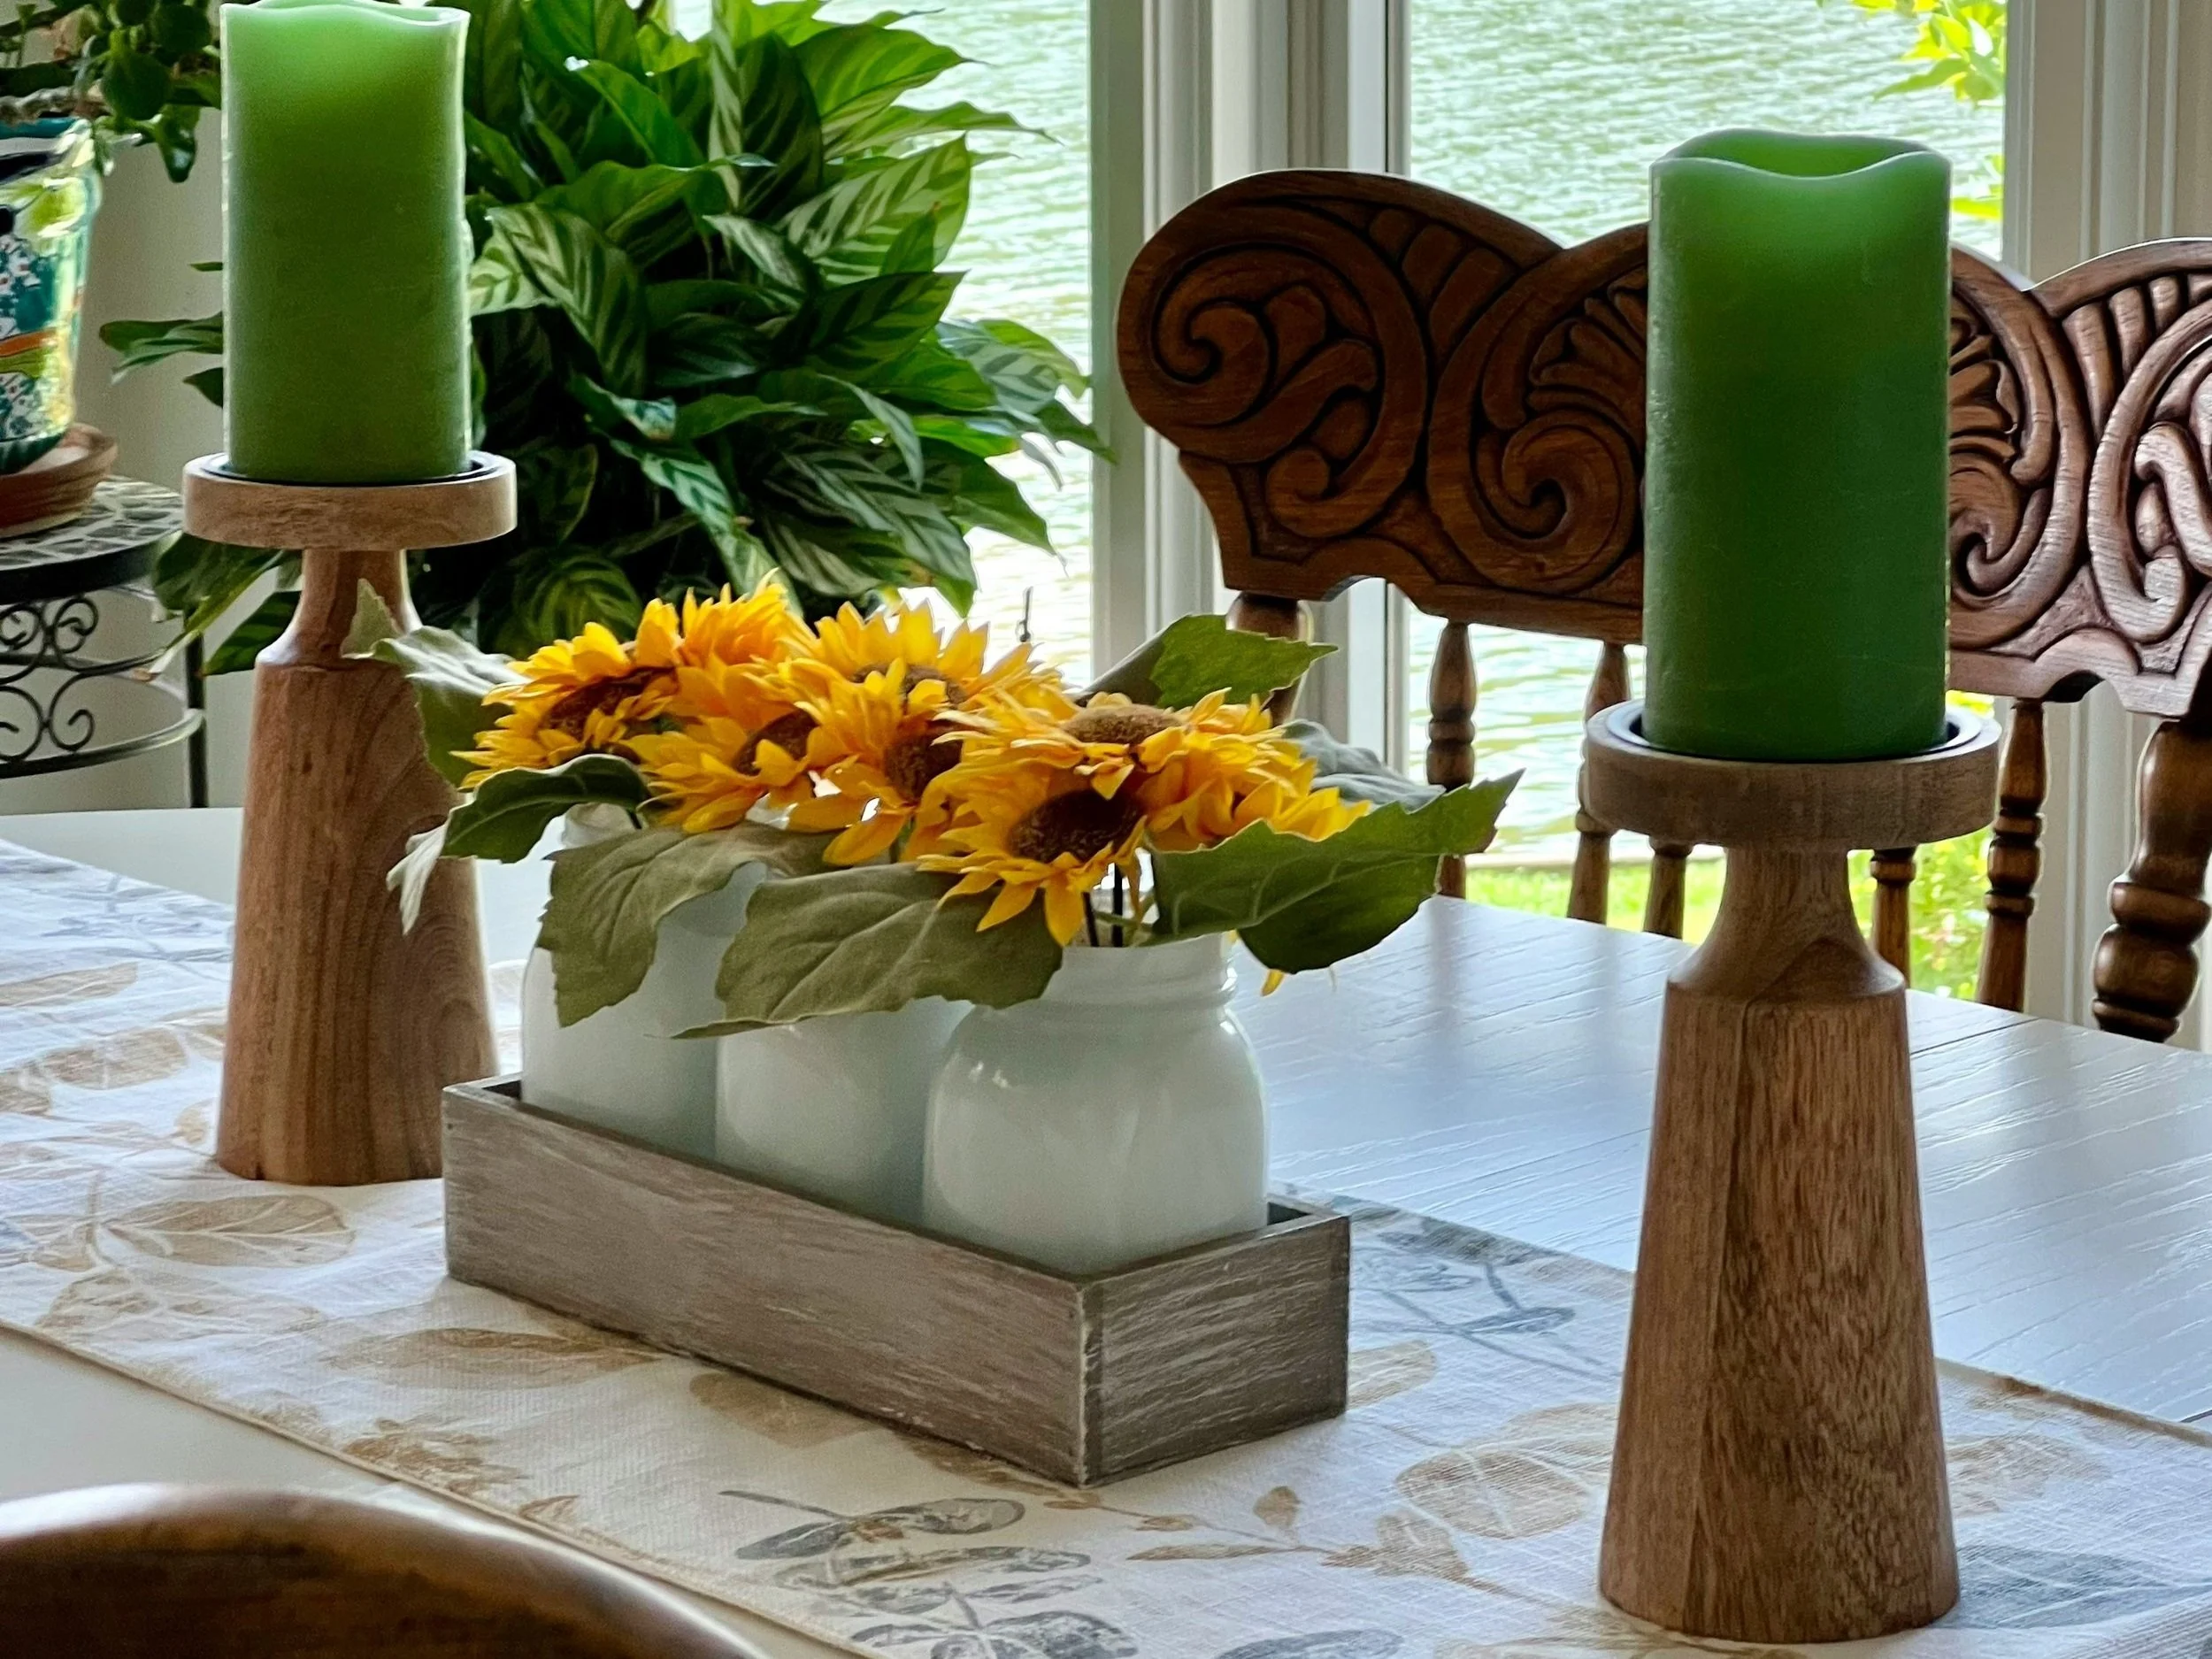
Introduction
The soft glow of candlelight can transform any space into a haven of warmth and elegance. What better way to showcase this light than with candleholders crafted from repurposed wood? These DIY wooden candleholders are perfect for adding a rustic yet chic touch to your home decor.
Step 1: Sourcing Your Materials
Look for small blocks of wood from discarded furniture, pallets, or even branches. Choose pieces with interesting grain patterns or natural textures for added charm.
Step 2: Cutting and Shaping
Cut the wood into your desired sizes—varying heights create a dynamic display.
Use a drill fitted with a hole saw attachment to create holes for the candles. For tea lights, ensure the hole is shallow and snug; for taper candles, a narrower and deeper hole works best.
Step 3: Sanding and Sealing
Sand all surfaces for a smooth finish, paying special attention to the edges of the drilled holes.
Seal the wood with a clear, non-toxic matte finish to protect it while maintaining its natural look.
Styling Tips
Arrange your candleholders in groups of three or five for an elegant centerpiece.
Add greenery or seasonal decor around the base for a festive touch.
Conclusion
With just a little effort, you can create stunning candleholders that bring warmth and character to your home. They also make thoughtful, handmade gifts for any occasion.
3. Serving Board

Introduction
There’s something undeniably charming about creating something beautiful and functional with your own hands. Repurposing salvaged wood into heirloom serving boards is a perfect way to combine creativity, sustainability, and style. These boards not only elevate your entertaining game but also carry a story—transforming old wood into timeless treasures.
Step 1: Choosing Your Wood
Start by sourcing the right type of wood. Look for hardwoods like oak, walnut, or maple from old furniture, pallets, or even discarded cutting boards. Ensure the wood is free from rot or pests.
Step 2: Preparing the Wood
Clean the wood thoroughly with warm, soapy water and let it dry completely.
Sand the surface using coarse-grit sandpaper (80-100 grit) to remove old finishes and smooth imperfections. Progress to finer grits (180-220) for a silky finish.
Step 3: Shaping Your Board
Sketch your desired shape (rectangular, round, or irregular for a rustic look) onto the wood.
Use a jigsaw to cut along the lines, or have a local workshop assist if you’re new to cutting tools.
Sand the edges to ensure they’re smooth and safe to handle.
Step 4: Finishing Touches
Treat your board with food-safe mineral oil or beeswax polish to enhance the wood’s natural beauty and protect it.
Let the oil soak overnight and buff with a soft cloth for a gorgeous sheen.
Styling Inspiration
Pair your serving board with artisanal cheeses, fruits, and rustic bread for an unforgettable charcuterie spread. Use it as a gift or a conversation starter at your next dinner party.